- Tech Services

Concept Development
- Industry
- Emerging Tech
- Generative AI Hub
- Blog
- Contact Us


How to connect Django with AWS s3 bucket
In Lets Nurture
15
Dec. 203.14 K
VIEWSIn a Django web application, we can store the files uploaded by the user and other static files in different locations. The ordinary way to store the files is on the same server where django code is deployed, but this way is only efficient when storage requirements and performance expectations are not high. In an attempt to cut server costs and improve performance, we can store the media files on other servers which provide storage facilities. Such storage providers are AWS, Azure, OneDrive any many more.
In this blog we will use AWS S3 bucket with django project to handle and store static files and user uploaded media files.
Essentials:
We will be needing two python libraries to connect to AWS S3 services. Which are,
- boto3
- django-storages
The boto3 library is an Amazon distributed public API client to interact with AWS resources. You can learn more about it in it’s official AWS documentation.
The django-storages is an open-source python library to manage storage backends such as Dropbox, Amazon S3 and OneDrive. It enables us to store our media files to AWS S3. We just need to add some configuration parameters and we are done, django-storages is there to handle all the hard stuff.
Amazon S3 configuration:
Before we start our django configuration, first we need to set up Amazon S3. We will need two things – A User with required permission and a Bucket to store the data.
Required steps to create a user:
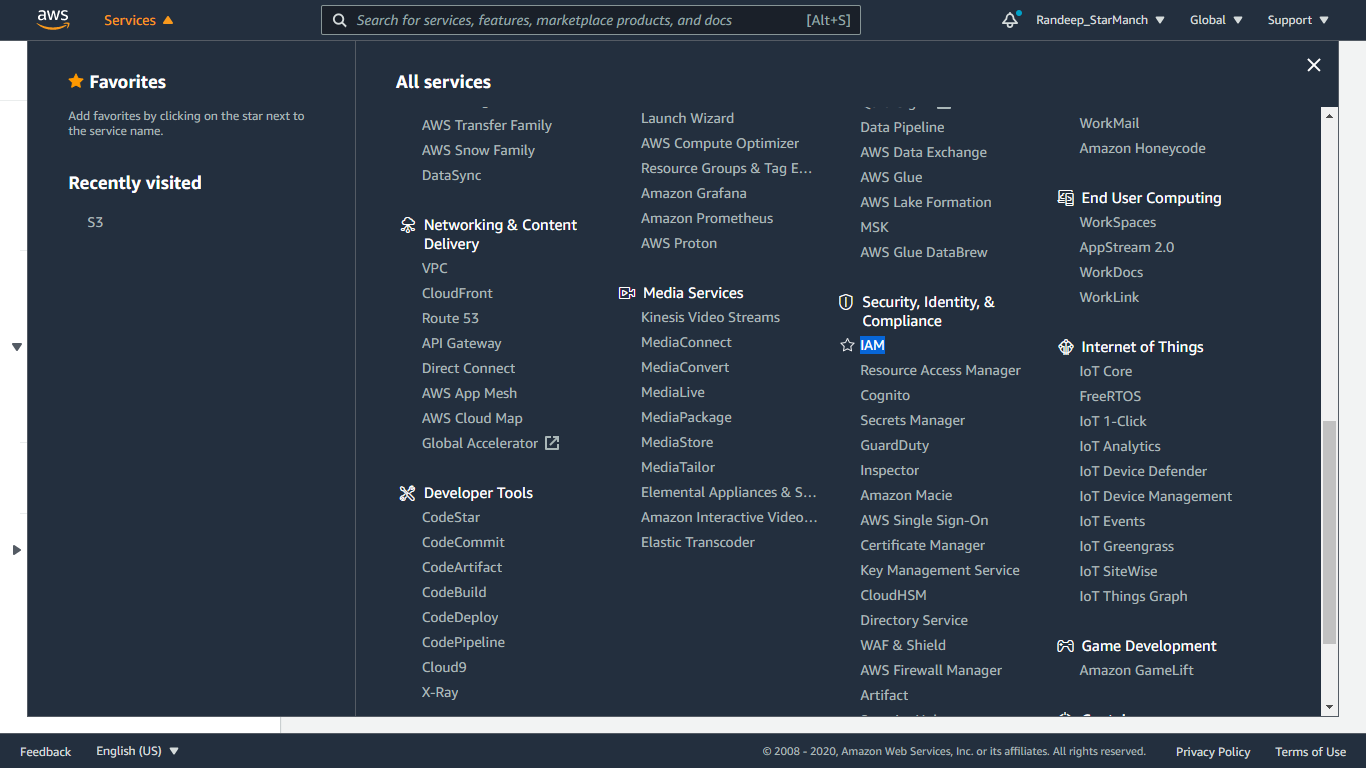
1. Login to AWS web console. Under Security, Identity & Compliance find and click on IAM
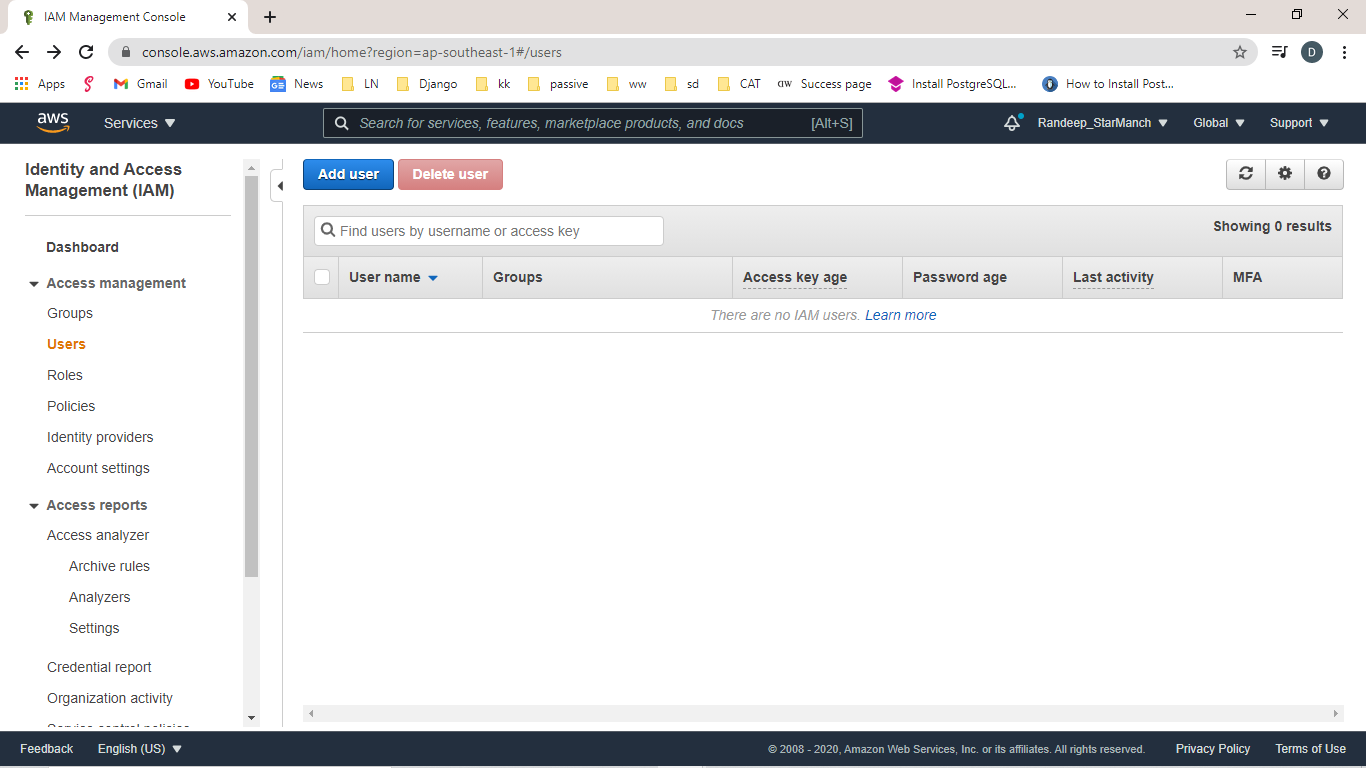
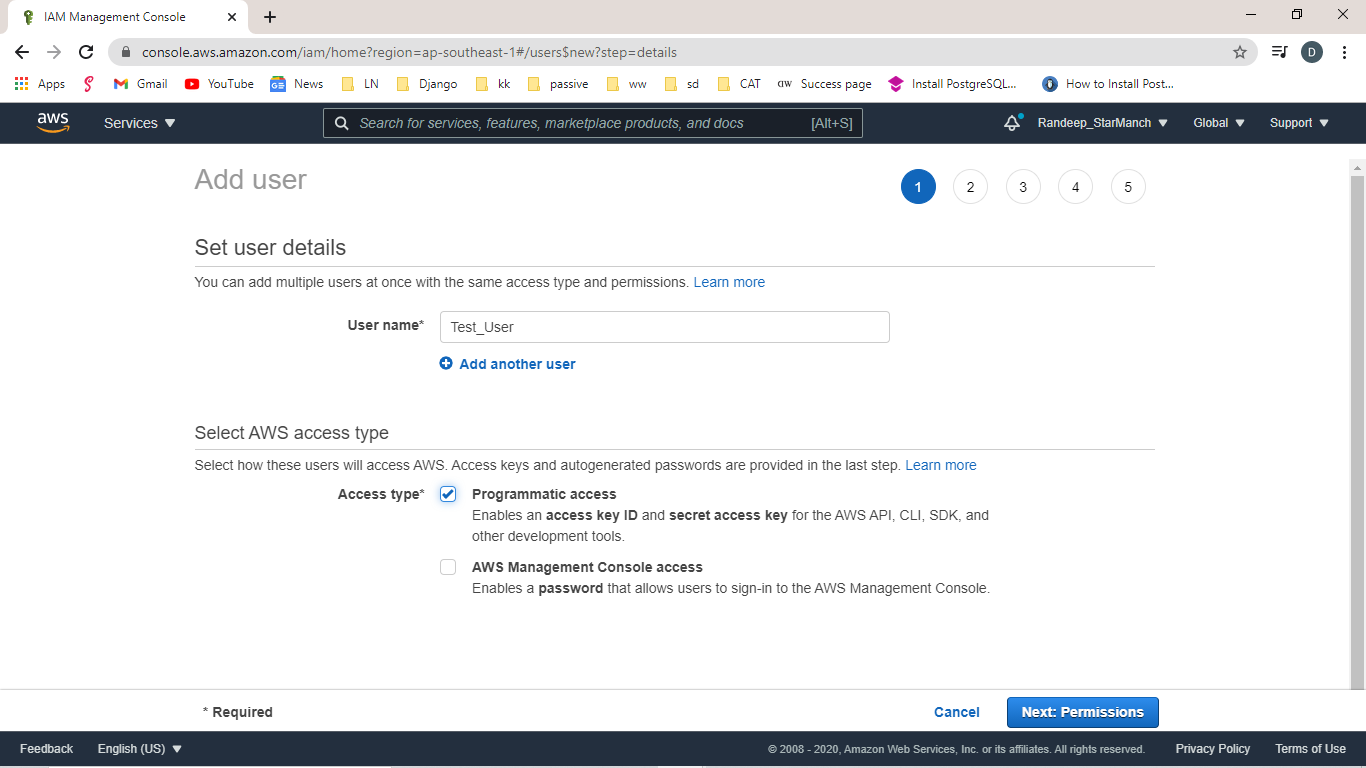
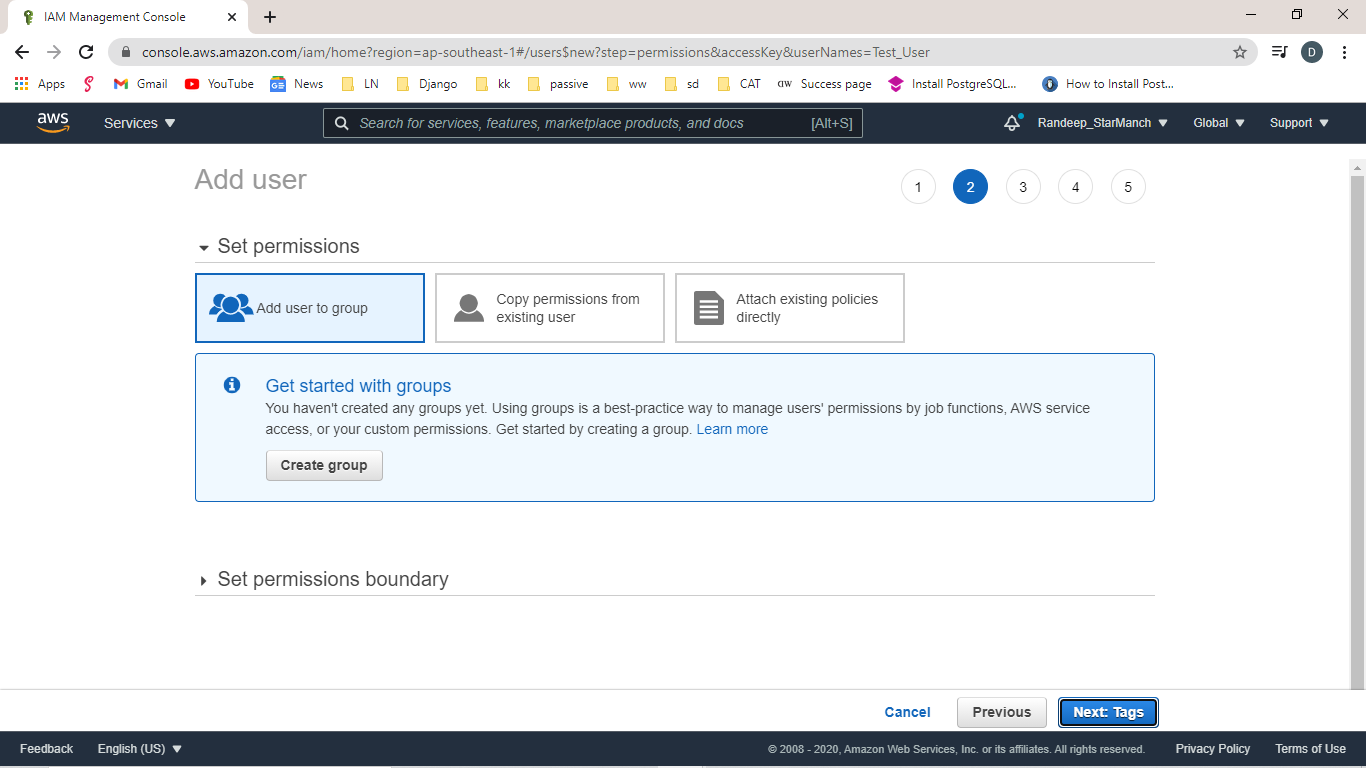
2. Go to the Users tab and click the Add user button. Provide user name and select programmatic access as AWS access type option. Click Next to the permission section.
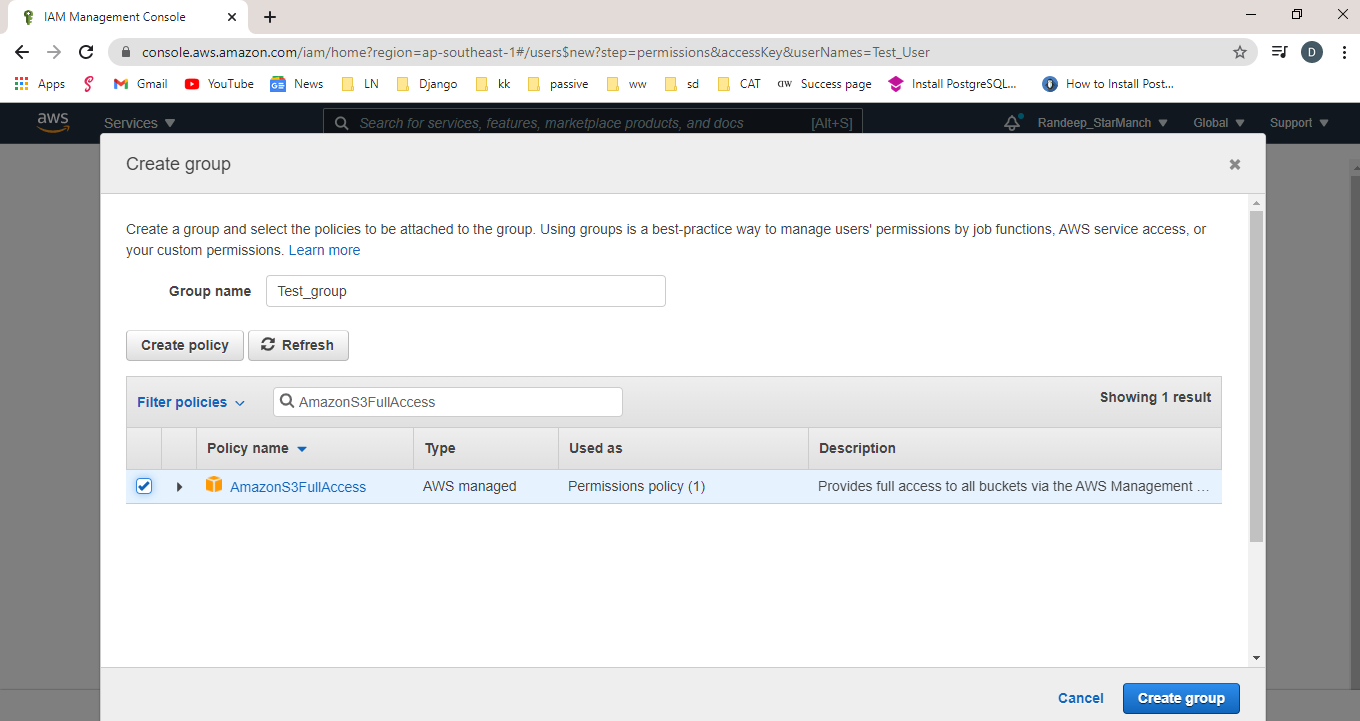
3. Click on the add user to group button to create a group and add our newly created user to this group. Provide group name and check built-in policy AmazonS3FullAccess.
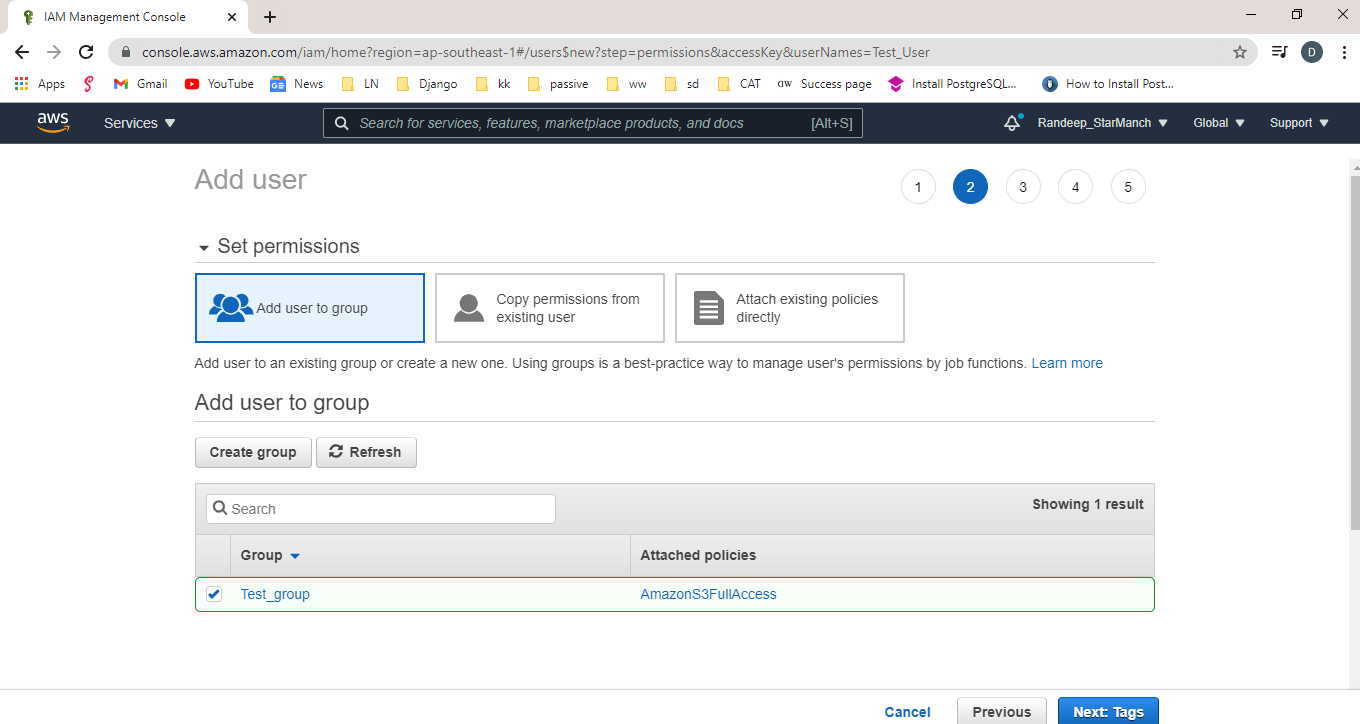
4. Click in the create group button. You’ll be redirected to the next screen. confirm the newly created group is checked and click on the Next:Review.
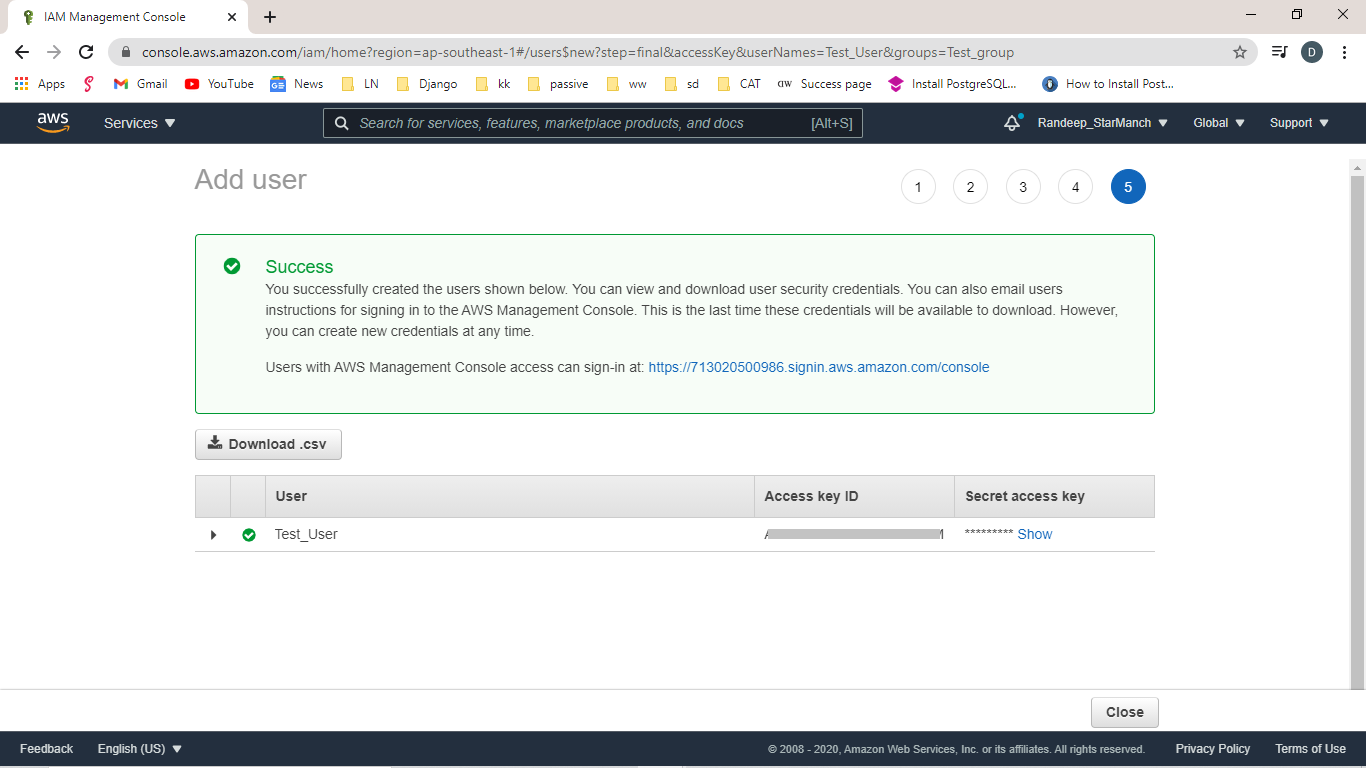
5. On the Review screen, review the information. And if everything went well, a new user will be created.
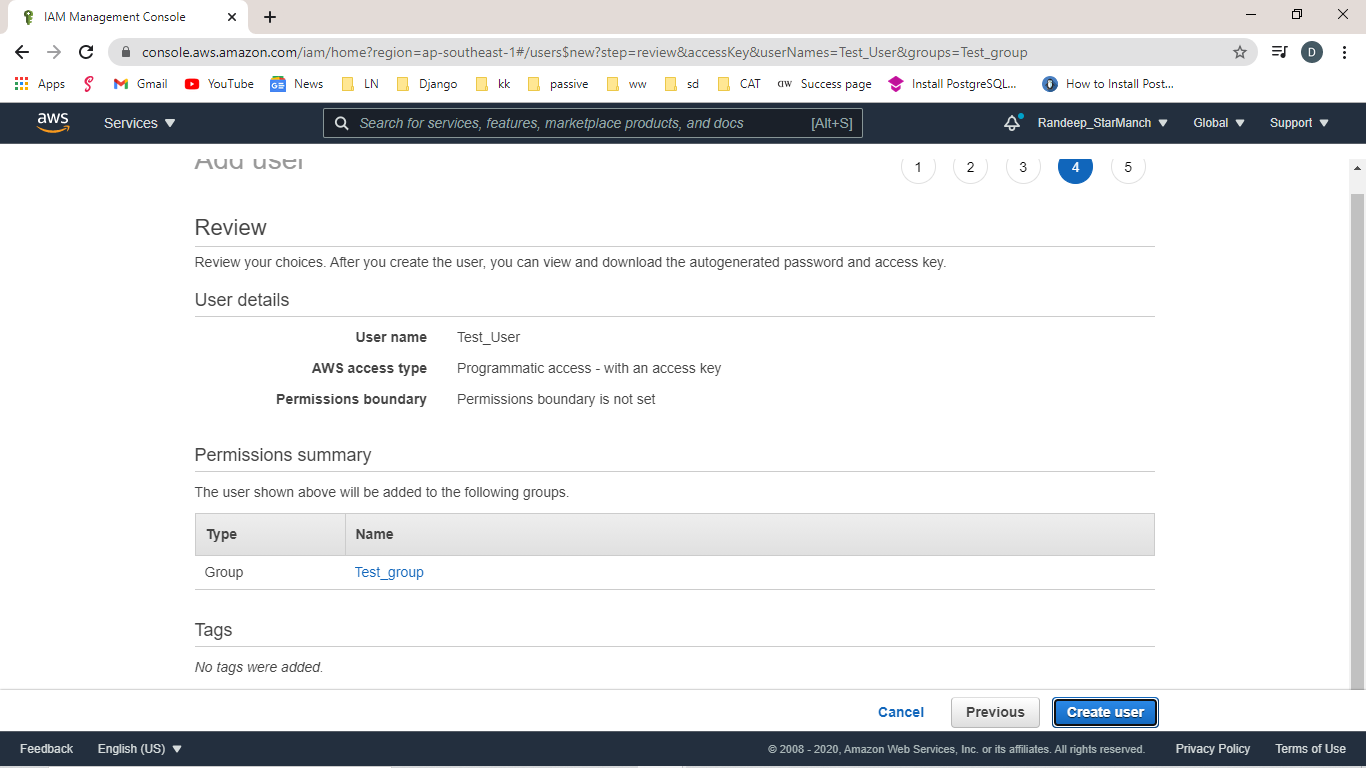
6. you’ll get a User, Access Key ID and Secret access key. Save this information for later.
Required steps to create a bucket:
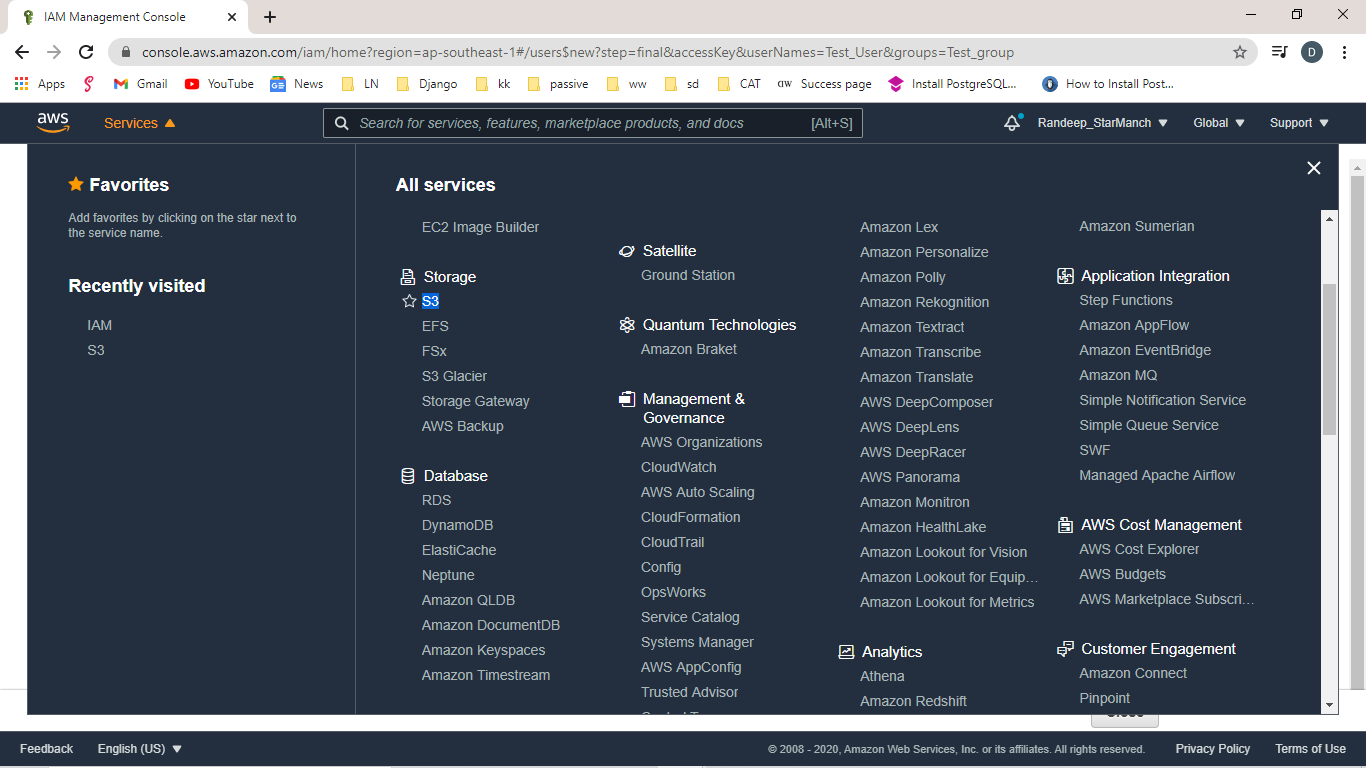
1. Search for S3 in the Storage/Services tab. You’ll be redirected to a page with the create bucket option.
2. Click on the create bucket button and provide the Bucket name. This name will be used in your domain url. For Ex – https://{{bucket_name}}.s3.amazonaws.com/media/
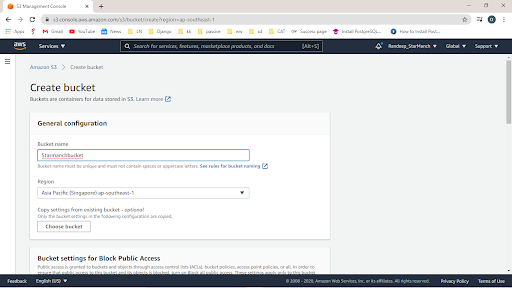
3. Leave all remaining information as it is and proceed to next steps and click the create bucket button.
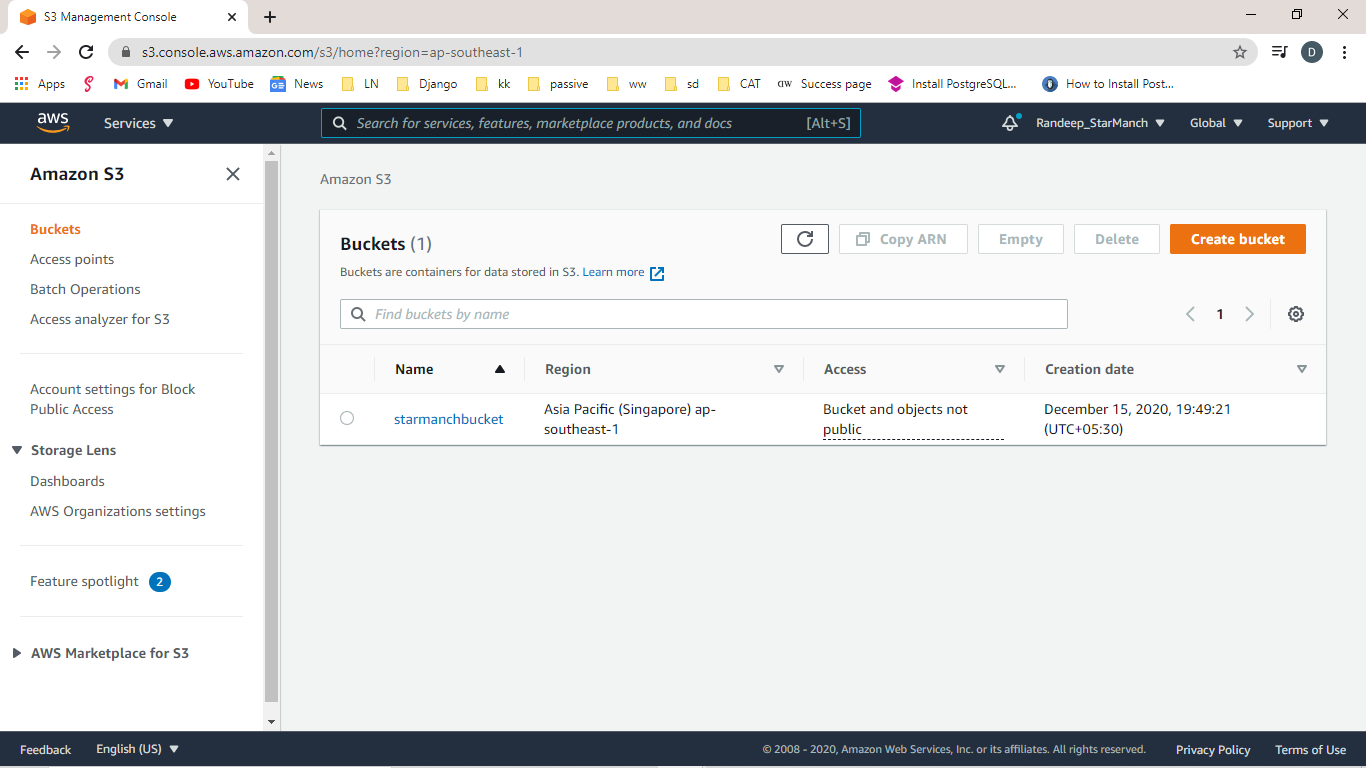
Now we are all set with AWS S3 setup. Let’s proceed with Django configuration set up.
Django backend Configuration:
Installation:
Install boto3 and django-storages library using pip.
pip install boto3
pip install django-storages
Now add
INSTALLED_APPS = [
'Django.contrib.auth',
'django.contrib.contenttypes',
 'django.contrib.sessions',
 'django.contrib.messages',
 'django.contrib.staticfiles',
  'Storages',
]
Now add all configuration parameter in settings.py
AWS_ACCESS_KEY_ID = ‘{your_aws_access_key_id}’
AWS_SECRET_ACCESS_KEY= ‘{aws_secret_access_key}’
DEFAULT_FILE_STORAGE= 'storages.backends.s3boto3.S3Boto3Storage'
AWS_STORAGE_BUCKET_NAME = ‘{aws_storage_bucket_name}’
AWS_S3_OBJECT_PARAMETERS = {
    'CacheControl': 'max-age=86400',
}
AWS_LOCATION = 'media'
Now run collectstatic command to update our storage from local storage to AWS S3 bucket and upload all files. It’ll take some time to upload all media and static files to the remote bucket.

I hope this tutorial was helpful to you to get started with AWS S3 and django connection. Feel free to ask any queries.

Author

Posted by Lets Nurture