- Tech Services

Concept Development
- Industry
- Emerging Tech
- Generative AI Hub
- Blog
- Contact Us


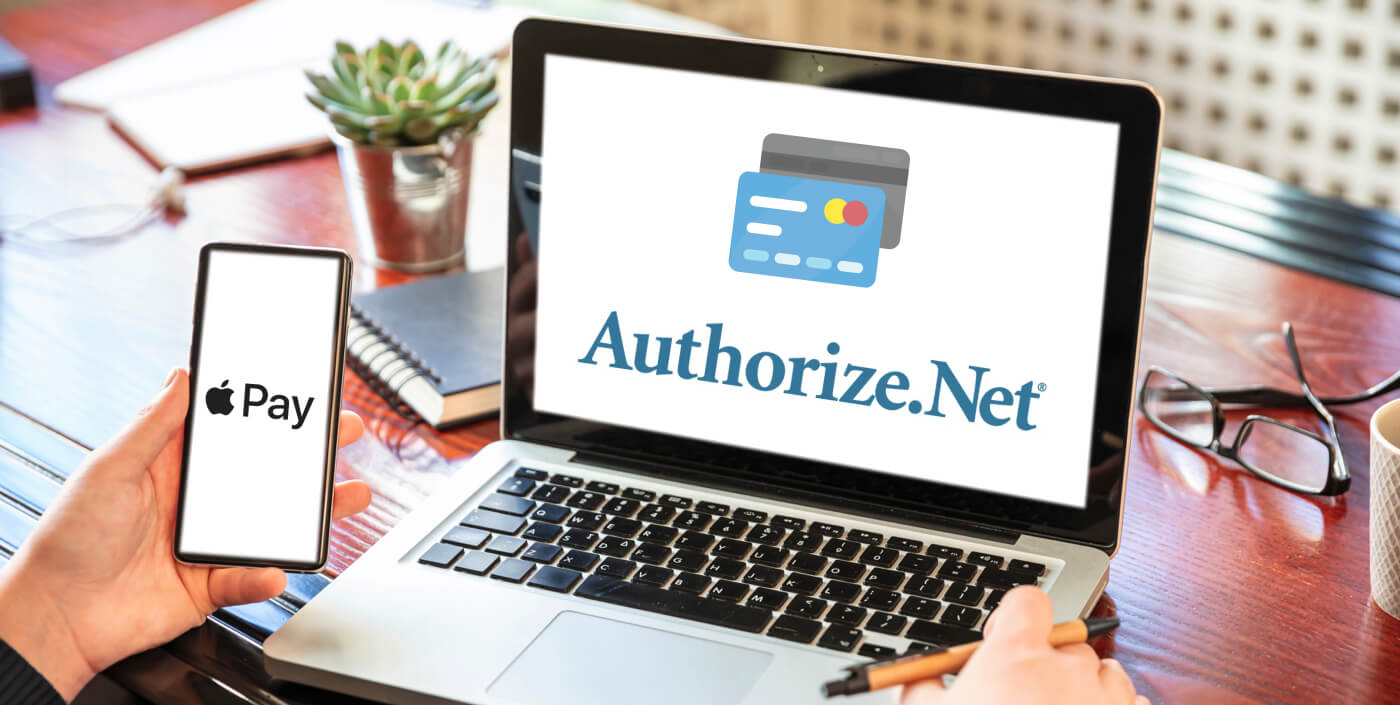
Apple Pay Integration with Authorized.net Payment Gateway – iOS
In Lets Nurture
25
Feb. 215.66 K
VIEWSWhat is Apple Pay?
- Apple Pay is a mobile payment and digital wallet service provided by Apple Inc. Allows users to make payments in person, in iOS apps, and on the web using Safari. And you can send and receive money from friends and family right in Messages. Apple Pay is a safer way to pay, and even simpler than using your physical card.
- Below listed apple devices support Apple Pay.
a. iPhone models with Face ID
b. iPhone models with Touch ID, except for iPhone 5s
c. iPad Pro, iPad Air, iPad, and iPad mini models with Touch ID or Face ID
d. Apple Watch Series 1 2 and later
e. Mac models with Touch ID
What is Authorize.net?
Authorize.Net is a payment gateway service provider, It allows merchants to accept credit card and electronic check payments through their website and over an Internet Protocol connection. It is a safer way to process transactions online.
How to Set Up Apple Pay in Your App
Step 1: Create a Merchant ID
- Navigate to https://developer.apple.com and sign in to your developer account. Navigate to Certificates, Identifiers & Profile

- Select Identifiers from the left panel -> Select your APP ID -> Click on Continue and submit.
(Note: Make sure that you select the Explicit App ID because if it isn’t, the wildcard App IDs won’t be able to make payments with Apple Pay.) - Now select merchant IDs from the dropdown menu.

- Click on + -> Select merchant ID -> Continue -> Add description -> Identifier (Use reverse-domain name style e.g – your app identifier is com.training.demo then use merchant.com.training.demo)
Step 2: Create a new Gmail account.
Step 3: Create a sandbox user in iTunes Connect
- Navigate to https://itunesconnect.apple.com/ and choose Users and Roles on the main page. -> Select Sandbox Testers from the left menu.
- Click on + -> Add tester details and email which you created. (It’s important to choose a country where Apple Pay is enabled.)
- Login to your Gmail account and verify.
Step 4: Add card to wallet
- Change the iPhone region to the United States from the settings.
- Open wallet app on device -> Click on + icon from right corner -> Add your test card details. After completion, it will be shown on the wallet app home screen.
- FPAN: 5204 2477 5000 1471
Expiration Date: 11/2022
CVC: 111
Step 5: Autorize.net setup
- Login to your authorize.net account based on your requirements.
Sandbox link Production link - Navigate to Tools > Digital Payments Solutions > Apple Pay -> Signup to Apple Pay -> Add your merchant id -> Generate Apple CSR
Step 6: Submitting the Payment processing certificate CSR to Apple Account.
- A payment processing certificate is associated with your merchant identifier and used to encrypt payment information. The payment processing certificate expires every 25 months. If the certificate is revoked, you can recreate it.
- Navigate to https://developer.apple.com and sign in to your developer account and choose Certificates, Identifiers & Profile
- Under Identifiers, select Merchant IDs using the filter in the top-right.
- On the right, select your merchant identifier.
(Note: If a banner appears at the top of the page saying that you need to accept an agreement, click the Review Agreement button and follow the instructions before continuing.) - Under Apple Pay Payment Processing Certificate, click Create Certificate.
- Create a certificate signing request on your Mac, and click Continue.
Click Choose File. - In the dialog that appears, select the certificate request file (a file with a .certSigningRequest file extension), then click Choose.
- Click Continue and then click Download.
Step 7: Enable apple pay in the project
- Open project in Xcode -> Go to Targets -> Signing & Capabilities -> Click on + -> Apple pay -> Merchant ID will be shown here -> make sure the left side checkbox is selected.
Step 8: Set authorize.net account details into project files.
- Add below details as global values into your project.
static let kClientKey = "5qwhb******************************************************43NsN"

static let kClientName = "9r********5A"

static let kClientTransationKey = "2w************7t"

static let kValidationMode = "testMode" // liveMode

static let kPaymentMode = AcceptSDKEnvironment.ENV_TEST //AcceptSDKEnvironment.ENV_LIVE

static let kAuthorisedAPI = "https://apitest.authorize.net/" //https://api.authorize.net/

static let ApplePayMerchantID = "merchant.com.MyTestApp"
Step 9: Add apple pay code into the desired file.
- Add a button into the storyboard and connect it with the outlet.
@IBOutlet weak var btnApplePay: UIButton!
- Import PassKit framework into swift file.
import PassKit
- Mention supported card types
var SupportedPaymentNetworks = [PKPaymentNetwork.amex,

PKPaymentNetwork.cartesBancaires, PKPaymentNetwork.cartesBancaires,

PKPaymentNetwork.chinaUnionPay, PKPaymentNetwork.discover,

PKPaymentNetwork.eftpos, PKPaymentNetwork.electron,

PKPaymentNetwork.elo, PKPaymentNetwork.idCredit,

PKPaymentNetwork.interac, PKPaymentNetwork.JCB,

PKPaymentNetwork.mada, PKPaymentNetwork.maestro,

PKPaymentNetwork.masterCard, PKPaymentNetwork.privateLabel,

PKPaymentNetwork.quicPay, PKPaymentNetwork.suica,

PKPaymentNetwork.visa, PKPaymentNetwork.vPay]
Step 10: Add Button action for .touchUpInside.
@IBAction func btnApplePayTapped(_ sender: UIButton) {
//MARK: Checks apple pay is supported on current device or not
if PKPaymentAuthorizationViewController.canMakePayments() == false {
let alert = UIAlertController(title: "Apple Pay is not available", message: nil, preferredStyle: .alert)
alert.addAction(UIAlertAction(title: "OK", style: .cancel, handler: nil))
return self.present(alert, animated: true, completion: nil)
}
//MARK: checks apple pay is available then opens wallet app
if PKPaymentAuthorizationViewController.canMakePayments(usingNetworks: supportedNetworks) == false {
openWalletApp()
}

let tempDict = cartDetailsFetch?.value(forKey: "data") as! Dictionary <String, Any>
var totalPay : NSDecimalNumber?

let request = PKPaymentRequest()
request.currencyCode = "USD"
request.countryCode = "US"
// Set your apple pay merchant id
request.merchantIdentifier = Constants.ApplePayMerchantID
request.supportedNetworks = SupportedPaymentNetworks
// DO NOT INCLUDE PKMerchantCapability.capabilityEMV
request.merchantCapabilities = PKMerchantCapability.capability3DS

//MARK: pass total value and currency code to apple payment request
request.paymentSummaryItems = [
PKPaymentSummaryItem(label: "Total", amount: totalPay as! NSDecimalNumber)
]

let applePayController = PKPaymentAuthorizationViewController(paymentRequest: request)
applePayController?.delegate = self

self.present(applePayController!, animated: true, completion: nil)
}

//MARK: opens wallet app
func openWalletApp() {
let library = PKPassLibrary()
library.openPaymentSetup()
}

//MARK: encrypt data and returns encrypted string
@objc func base64forData(_ theData: Data) -> String {
let charSet = CharacterSet.urlQueryAllowed

let paymentString = NSString(data: theData, encoding: String.Encoding.utf8.rawValue)!.addingPercentEncoding(withAllowedCharacters: charSet)

return paymentString!
}
Step 11: Add PKPaymentAuthorizationViewControllerDelegate method(s)
func paymentAuthorizationViewController(_ controller: PKPaymentAuthorizationViewController, didAuthorizePayment payment: PKPayment, completion: (@escaping (PKPaymentAuthorizationStatus) -> Void)) {
print("paymentAuthorizationViewController delegates called")
// completion(PKPaymentAuthorizationStatus.success)
print("Payment method data : \(payment.token.paymentMethod.description)")
print("Payment method data : \(payment.token.paymentData.description)")
if payment.token.paymentData.count > 0 {
let base64str = self.base64forData(payment.token.paymentData)
let message = String(format: "Data Value: %@", base64str)
let alert = UIAlertController(title: "Authorization Success", message: "", preferredStyle: .alert)
alert.addAction(UIAlertAction(title: "OK", style: .cancel, handler: nil))
completion(PKPaymentAuthorizationStatus.success)
//call api
CallCreateCustApplePayProfile(payment: payment)
} else {
let alert = UIAlertController(title: "Authorization Failed!", message: nil, preferredStyle: .alert)
alert.addAction(UIAlertAction(title: "OK", style: UIAlertAction.Style.default, handler: nil))
completion(PKPaymentAuthorizationStatus.failure)
return self.performApplePayCompletion(controller, alert: alert)
}
}

//MARK: apple payment is finished then this method calls
@objc func performApplePayCompletion(_ controller: PKPaymentAuthorizationViewController, alert: UIAlertController) {
controller.dismiss(animated: true, completion: {() -> Void in
self.present(alert, animated: false, completion: nil)
})
}

func paymentAuthorizationViewControllerDidFinish(_ controller: PKPaymentAuthorizationViewController) {
controller.dismiss(animated: true, completion: nil)
print("paymentAuthorizationViewControllerDidFinish called")
}
Step 12: This method calls request.api payment api for submit the apple pay data
func CallCreateCustApplePayProfile(payment: PKPayment){
let tempDict = cartDetailsFetch?.value(forKey: "data") as! Dictionary <String, Any>
let addressData = UserDefaults.standard.value(forKey: "CheckOutAddress") as? Dictionary <String,Any>
let firstName = addressData!["first_name"] ?? ""
let lastName = addressData!["last_name"] ?? ""
let address1: String = addressData!["addres1"] as! String
let address2: String = addressData!["addres2"] as! String
let addressString = NSString(format: "%@,%@", address1,address2)
let city = addressData!["city_name"] ?? ""
let state = addressData!["state"] ?? ""
let zip = addressData!["pincode"] ?? ""
let country = ""
_ = addressData!["mobile"] ?? ""
let base64str = payment.token.paymentData.base64EncodedString()

print("Data value: \(base64str)")

let totalPay = tempDict["total"] as? String ?? "0.0"

//MARK: Send basic details to authorize.net api
let savecardJson = "{\r\n \"createTransactionRequest\": {\r\n \"merchantAuthentication\": {\r\n \"name\": \"\(Constants.kClientName)\",\r\n \"transactionKey\": \"\(Constants.kClientTransationKey)\" },\r\n \"transactionRequest\": {\r\n \"transactionType\": \"authCaptureTransaction\",\r\n \"amount\": \"\(totalPay)\",\r\n \"payment\": {\r\n \"opaqueData\":{\r\n \"dataDescriptor\": \"COMMON.APPLE.INAPP.PAYMENT\",\r\n \"dataValue\": \"\(base64str)\" } }, \r\n \"order\" : {\r\n \"invoiceNumber\" : \"\(self.invoiceNo)\", \r\n \"description\" : \"OrderFromiOS\"}, \r\n \"billTo\": {\r\n \"firstName\": \"\(firstName)\",\r\n \"lastName\": \"\(lastName)\",\r\n \"company\": \"\("company")\",\r\n \"address\": \"\(addressString)\",\r\n \"city\": \"\(city)\",\r\n \"state\": \"\(state)\",\r\n \"zip\": \"\(zip)\",\r\n \"country\": \"\(country)\"},\r\n \"shipTo\": {\r\n \"firstName\": \"\(firstName)\",\r\n \"lastName\": \"\(lastName)\",\r\n \"company\": \"\("company")\",\r\n \"address\": \"\(addressString)\",\r\n \"city\": \"\(city)\",\r\n \"state\": \"\(state)\",\r\n \"zip\": \"\(zip)\",\r\n \"country\": \"\(country)\"},\r\n \"customerIP\": \"\(IPAdress)\"}} }"

print("CallCreateCustApplePayProfile payment data : \(savecardJson)")

let jsonData = Data(savecardJson.utf8)
let request = NSMutableURLRequest(url: NSURL(string: "\(Constants.kAuthorisedAPI)xml/v1/request.api")! as URL,
cachePolicy: .useProtocolCachePolicy,
timeoutInterval: 10.0)
request.httpMethod = "POST"
//request.allHTTPHeaderFields = headers
request.httpBody = jsonData as Data
request.timeoutInterval = 60

let session = URLSession.shared
let dataTask = session.dataTask(with: request as URLRequest, completionHandler: { (data, response, error) -> Void in
if (error != nil) {
print(error ?? "")
let httpResponse = response as? HTTPURLResponse
print(httpResponse ?? "")
self.aryCreatePayProf = try! JSONSerialization.jsonObject(with: data!, options: []) as! NSDictionary as! [String : Any]
print("payment details from apple pay from error block :== \(self.aryCreatePayProf)")
_ = "\(Constants.APP_URL+URLs.placeOrder.rawValue)"
} else {
let httpResponse = response as? HTTPURLResponse
print(httpResponse!)
self.aryCreatePayProf = try! JSONSerialization.jsonObject(with: data!, options: []) as! NSDictionary as! [String : Any]
print("payment details from apple pay :== \(self.aryCreatePayProf)")
let messages = self.aryCreatePayProf["messages"] as! Dictionary<String,Any>
let arymessages = messages["message"]! as! NSArray
let message = arymessages[0] as! Dictionary<String,Any>

if "\(message["code"]!)" == "I00001"
{
//call your server api here for submit data to your server
}
else {
DispatchQueue.main.async {
self.view.makeToast("\(message["text"]!)", duration: 5.0, position: .bottom)
ACProgressHUD.shared.hideHUD()
}
}
}
})
dataTask.resume()
}
You can see which params needed when authorize.net API calling from this link: https://developer.authorize.net/api/reference/index.html#mobile-in-app-transactions-create-an-apple-pay-transaction
To know more about us and the other services or solutions we provide, contact us.

Author

Posted by Lets Nurture