- Tech Services

Concept Development
- Industry
- Emerging Tech
- Generative AI Hub
- Blog
- Contact Us


Let’s Start React-Native
In Lets Nurture
18
Dec. 201.74 K
VIEWSThe React Native framework has seen a gradual increase in its adoption by the mobile development community from 2015 by Facebook. React Native is a cross-platform mobile development framework that enables you to build apps with rich mobile UI using declarative components on both Android and iOS.
React native is an open-source mobile application development framework based on the Javascript library — React. This means that you can make use of Javascript and React’s XML-like language, i.e. JSX to develop mobile apps.
How does it work?
React Native compiles the JavaScript code to native components, thus, using platform-specific APIs and modules. It uses native components such as Images, Text, and View to build the Application.
Here you can find 10 steps to install and create applications in react native, So Let’s get started!!
Install React native:
1. Install NodeJS, You can download the latest NodeJS windows machine installer software package from nodejs.org .
https://nodejs.org/en/#download
Why is it required?
Node.js® is a JavaScript runtime built on Chrome’s V8 JavaScript engine.
You can use JavaScript to generate JavaScript files. That’s how you bundle the files for Client Side browser JavaScript and Clientside native JavaScript.
And the package called metro is a server side buildscript (on NodeJS) that you can use to either
a) start a server that serves your JS as a web page, or b) that bundles your JS in a native App that you can install on your device

Then we need IDE to develop React native Applications so far, for that you can use Visual studio code
2. Install Visual studio code
https://code.visualstudio.com/download
You can watch a video here which will help setting up VS Code in your system. https://code.visualstudio.com/learn/get-started/basics
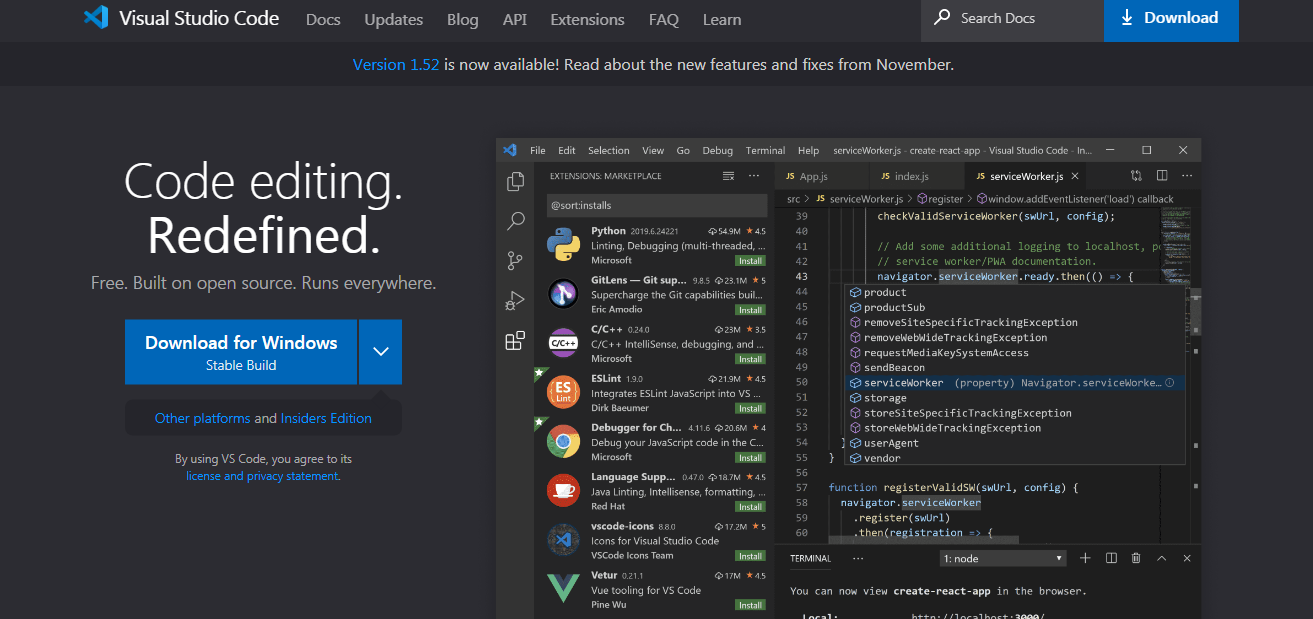
Just Simply follow the instructions and install it.
After that we will need JDK:
To download the JDK please click on the link below and install the latest version of JDK
3. Install JDK( Java Development Kit ) –
https://www.oracle.com/java/technologies/javase-downloads.html

After following installation steps, You will see one pop-up window on your screen on successfully downloading the JDK!
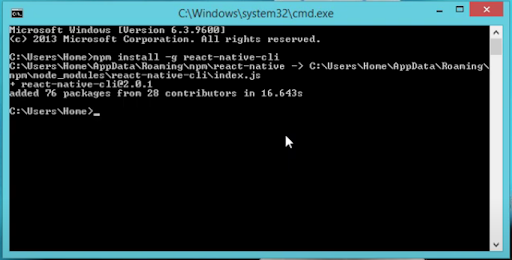
4. npm install -g react-native-cli
This line will install React native CLI in your system.
To start installing press Windows + R command and open a cmd, Now right-click and paste the above command and you will see the React native package CLI has been started to download in your system.

Okay, And you will see something like this in your cmd after successfully completing it.
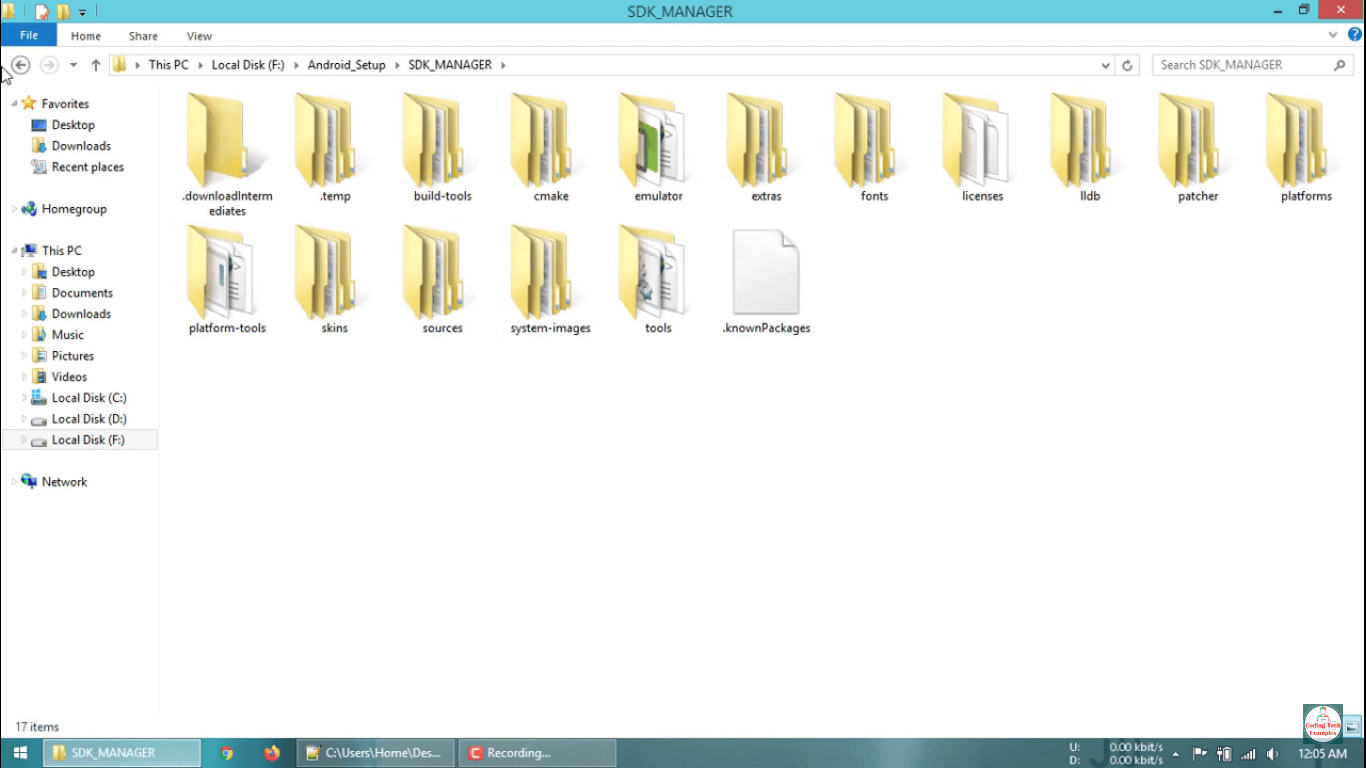
5. Install Android Studio + SDK Manager :
https://developer.android.com/studio
Now we have to install Android studio and SDK Manager. It is crucial to download it because without this we can not run applications on Emulator or use any android related functionality.
Click on the above link to download Android studio and follow the step to install it Here you can see how finally it looks after completing the installation of Android studio:

Once you download SDK, you can see it in this path:
6. Add Environment Variable ANDROID_HOME in Windows.
ANDROID_HOME is created to tell React native or any other software that the android studio is located here in this path
To setup path:
Right click on My computer and go to properties -> Advanced system settings -> Environment Variables -> Under the System Variable click on New.
Now type ANDROID_HOME in Variable Name and paste the Android SDK path of your computer in Variable value Like this:
Note : The path might be different in your computer based on configuration.

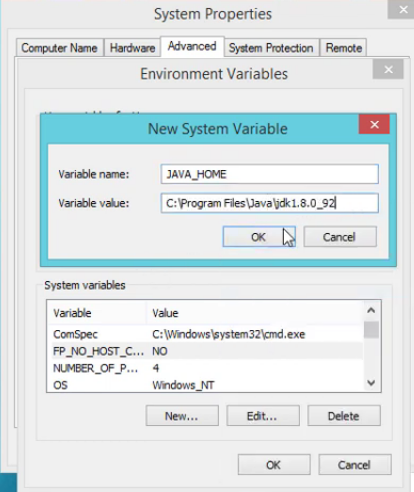
7. Add Environment Variable JAVA_HOME in Windows.
Simply navigate to the C:\Program Files\java\jdk1.8.0 and copy the path
To setup path:
Right click on My computer and go to properties -> Advanced system settings -> Environment Variables -> Under the System Variable click on New.
Now type JAVA_HOME in Variable Name and paste the JDK path of your computer in Variable value Like this:
8. Installing haxm-windows Software.
Now the next step is to install Intel® Hardware Accelerated Execution Manager (Intel® HAXM) software which utilizes the hardware virtualization capabilities built into modern Intel CPUs, and run Applications in our Emulator.
There is no need to externally download this, you can find this software in your SDK manager.Simply go to your SDK Manager\extras\intel\Hardware_Accelerated_Execution_Manager and install it. Like this:

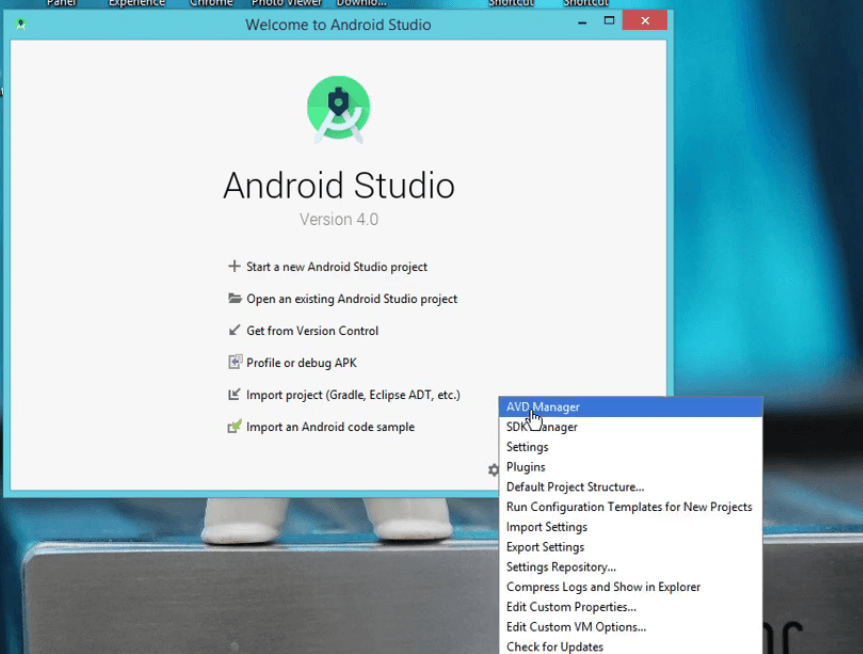
9. Start Android Virtual Device (AVD) .
After installing Android studio you will first see the screen in which you can see the Configure button.
Click on it and select AVD Manager to setup the virtual machine i.e your emulator.
Click on Virtual devices choose Device Definition and a System Image from the steps.
10. Creating your first React Native project .
Here you completed the setup… Now lets create the first React native project.
To create that, Go to your preferred directory and create one folder in which you wish to make a project.
Open cmd command and type react-native init project like this:
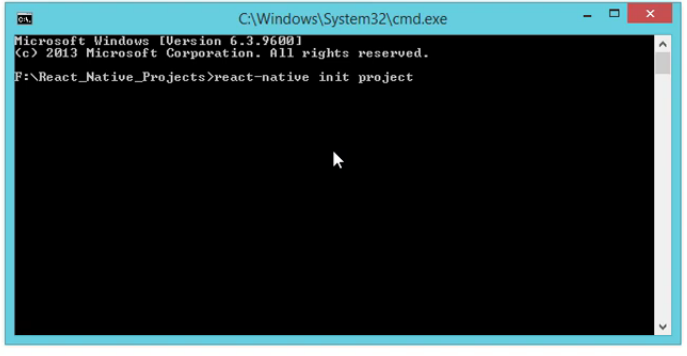
This command will create your first React native project.
Make sure to connect your system with the internet while executing this command.
And here you just created the project.

Conclusion
In the repeatedly changing technology the React native is becoming popular in the domain of cross-platform solutions, React Native provides a slick, smooth and responsive user interface, while significantly reducing load time. We hope this blog helps you get started with React Native and launch your own apps!

Author

Posted by Lets Nurture